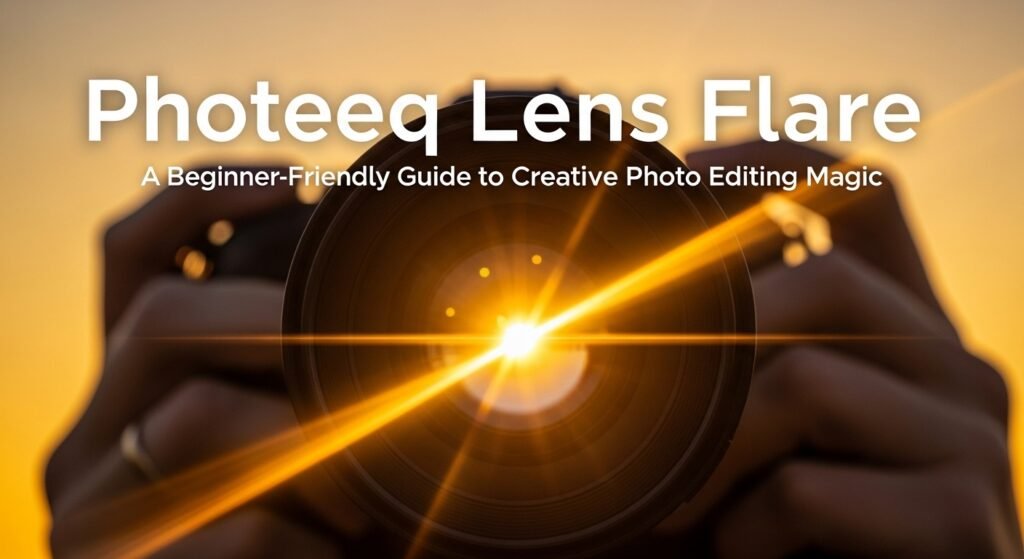
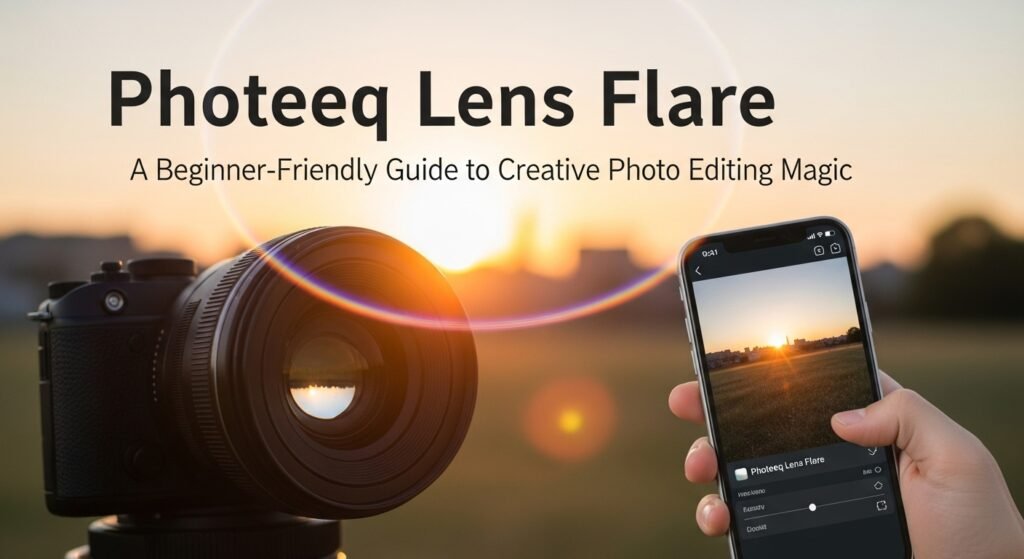
Photeeq Lens Flare: A Beginner-Friendly Guide to Creative Photo Editing Magic
Table of Contents
Photography is all about creativity. Sometimes, one special effect can turn a simple picture into something magical. One of the most loved effects in photo editing is the photeeq lens flare. Many people use it to add sunlight, glow, or dreamy moments to their images. But what is it really? Is it easy to use? Does it work for beginners? These are the kinds of questions we’ll answer in this fun, friendly guide. Whether you’re sharing photos online or just editing for fun, adding a photeeq lens flare can give your images a special touch that makes them pop. You don’t need to be a professional to do it. With a little know-how, you can apply stunning flare effects that look clean, artistic, and totally your style. In this guide, we’ll talk about how photeeq lens flare works, when to use it, how to make it look real, and even some common mistakes to avoid. If you’re ready to make your photos shine, let’s explore how photeeq lens flare can transform your pictures, step by step.
What Is Photeeq Lens Flare?
Photeeq lens flare is a photo editing tool that adds light effects to your pictures. This flare usually looks like sunlight, glows, halos, or reflections that bounce off the lens. You’ve probably seen it in movies, music videos, or bright outdoor photos. It adds warmth, emotion, and even a bit of magic to any image. The photeeq lens flare works by blending light shapes, colors, and brightness into key areas of a photo. You don’t have to be a pro editor to use it. Many tools and presets make it simple to place a flare exactly where you want. Photeeq was originally known for offering lightweight editing plugins, especially for Lightroom, that made effects like lens flares fast and easy to apply. These effects help boost visual storytelling. Whether you want a golden-hour glow or a sci-fi shimmer, photeeq lens flare brings the effect without messing up the details of your image.
Why Use Photeeq Lens Flare in Your Images?
People love the photeeq lens flare because it adds emotion and drama to photos. Even just a small light flare can change the mood of your picture. For example, placing a soft flare near someone’s face can make the photo feel warmer or more romantic. A brighter flare in a sky photo can bring in energy or excitement. The effect also gives your photo a professional and artistic look. In some cases, it can hide small flaws or empty spaces in a photo. Flare helps create focus, push the eye to key parts of the image, or frame your subject in soft, natural light. It’s also great for storytelling. When viewers see a bright flare, they often feel the warmth of the sun or the cool blast of light from an action scene. It’s an easy way to express a certain feeling without using words or filters that change your whole photo.
Where Can You Find Photeeq Lens Flare?
Photeeq lens flare originally came as part of a popular plugin used inside editing software like Adobe Lightroom. Over time, this plugin was known for being quick and easy, especially for light-based effects like flares, sunbursts, and glows. While the plugin itself may not be updated often anymore, many websites and image-editing apps still feature photeeq lens flare-type tools or presets and refer to them because of how recognizable the name became. You can now find similar flare effects across many free and paid apps like Luminar, Snapseed, Photoshop, and apps for phones like Lens Distortions or Afterlight. Some tools even have presets that mimic the original photeeq style—simple, soft flares that don’t overpower your image. You can search for “light flares,” “lens glare,” or “sunlight overlays” to find modern tools that give the same natural and polished look that made photeeq lens flare so popular.
How to Add a Photeeq Lens Flare to Your Photo
Adding a photeeq lens flare to your photo is easier than it sounds. First, open your image inside a photo editing program. This could be an app like Lightroom, Photoshop, or anything that allows overlays and light effects. Next, pick the area where the sun or light source would naturally sit in your image. This is where your flare will go. Then, add your flare from a preset or tool. Adjust the brightness, softness, and angle so the lens flare looks like it’s part of the original photo. Make sure it doesn’t cover key parts of the image like a person’s face or small details. If possible, lower the effect’s intensity. Too much flare can look fake. Less is often more. Finally, save your photo and compare it to the original. You’ll see how much the photeeq lens flare adds sparkle, depth, and a bit of storytelling to your final image.
Best Photos for Using Photeeq Lens Flare
The photeeq lens flare doesn’t work in every photo, but some scenes are perfect for it. Outdoor shots during sunrise or sunset look amazing with soft flare added. Portraits taken with sun behind the person benefit a lot. Landscapes also gain life with flare coming from the horizon. City photos at night, especially with bright signs or street lights, work well too with colored flares. Try to use lens flare when there’s already a natural light source in the picture. That way, the added flare feels real and not distracting. Avoid using this effect in indoor photos with dull lighting or random objects—it may come off as too fake. The more natural your choice, the better the result. If you’re unsure, test the flare on different areas and see how each one looks. This trial-and-error process teaches you when and where photeeq lens flare shines the most.
Tips to Make Your Flare Look Real
One of the easiest mistakes you can make with photeeq lens flare is overdoing it. While it’s fun to play with sparkle and light, realism is key. Here are a few easy tips to keep your flares looking clean and authentic. First, match the direction of the flare with the light in your picture. If the sunlight is coming from the left, don’t place the flare on the right. That small mistake can break the illusion. Second, reduce the intensity. Many flare tools start bright. Lower the brightness until it barely touches the image. Third, use warm flares (like yellow and orange) during sunrise or sunset, and cooler tones (like blue or white) in night city scenes. Also, avoid flares that block faces, words, or important actions. Last tip? Zoom out and step away. If it still looks like real light, you did it right. These tips help you use the photeeq lens flare like a true storyteller.
Using Photeeq Lens Flare in Portrait Photography
Portraits come alive with a gentle touch of lens flare—especially the kind you get from the photeeq lens flare style. Flare on a person’s shoulder or hair outline can add bounce and glow. It lets the photo feel warm and full of life. If you’re shooting outside, place your subject with the sun behind them. Later, during editing, add a soft flare right above where the sun would be. The result is a natural lens glow that feels dreamy and beautiful. If you’re indoors, try adding a small flash of light from a window corner or lamp to mimic sunlight. The photeeq lens flare works best for soft, emotional portraits. It gives mood. Just make sure it doesn’t shine too bright over the eyes or blur key details like smiles. When done well, it’s one of the simplest ways to give portraits a professional, sun-soaked look full of warmth and charm.
Photeeq Lens Flare in Social Media Posts
Want to wow your followers? Adding photeeq lens flare to your social media images can do just that. Whether you’re posting on Instagram, Facebook, or Pinterest, a soft glow or flare can bring your image to life. It grabs attention, shows off editing skills, and adds emotion to your content. Travel pictures become magical, fashion posts glow better, and food shots look extra tasty in warm light. On platforms like Canva and mobile photo-editing apps, you can find overlays or stickers that mimic the photeeq lens flare effect. These let you drag and drop the flare right into your scene. Remember though, mobile viewing is small, so keep the flare clear but not too strong. Subtle, soft edits win scroll-stopping points. If you want your photo to stand out without using loud filters, a soft lens flare is a perfect little trick that works every time.
Mistakes to Avoid When Using Lens Flare
While photeeq lens flare can make your photos pop, using it the wrong way can lead to messy results. The first mistake to avoid is putting the flare in the wrong spot. If there’s no light source in your image, adding flare will just confuse the viewer and feel fake. Second, don’t use too many flares. One strong flare is plenty. Stacking many in one image can distract your audience. Third, avoid placing flares over faces, logos, or text unless that’s the main design choice. Another mistake is using super bright or low-quality flares from random sources. That can make your picture look blurry or unprofessional. Finally, avoid using flares on very dark photos. The contrast might be too strong, and it won’t blend naturally. Always check your photo from a normal phone or screen view. What looks fine in edit might look too harsh in real viewing.
Alternatives to Photeeq Lens Flare
While the original photeeq lens flare is a favorite, you might want to try other options too. Apps like Snapseed, VSCO, and Lens Distortions offer smart light flare options. Photoshop and Lightroom also have customizable light overlays, and you can buy ready-made flare packs on sites like Creative Market or Envato. These alternatives do the same job—adding sparkle, magic, and motion to images—but may include different color tones, sparkle shapes, or glow styles. If you use Canva or desktop editors like Fotor, search for “light overlay” or “sun flare” to test different options. You can also try free PNGs (transparent images) that you can drag onto your photo. Although they may not be called photeeq lens flare directly, the look and result will be very similar. Pick the one that matches your photo’s mood and quality level.
How Photeeq Lens Flare Inspires Creativity
There’s something special about seeing light beams in a photo. It pulls emotion from both the viewer and the creator. The photeeq lens flare is more than just a tool—it’s a doorway to being more creative with your images. It lets you play with mood, temperature, and story in subtle ways. Some photographers even use the flare to mark changes in theme, like hope or a fresh start. Others build full photo series where every image has a single matching flare tone. People even start their editing adventure by placing light first, then shaping their entire picture around it. When you use lens flare thoughtfully, it becomes more than decoration—it becomes part of your voice. That’s why so many artists and creators of all ages embrace it. It’s not just an effect. It’s a feeling in photo form.
Conclusion
If you’re looking to give your photos emotion, light, or artistic glow without changing the heart of your image, the photeeq lens flare is your secret weapon. It’s simple to use, beautiful when done right, and perfect for any kind of photographer. From beginners on mobile apps to pros in Lightroom or Photoshop, this effect fits into every style. Whether you’re showing off your latest travel shot or editing a warm family portrait, a gentle lens flare can take your photo from good to stunning. You’ve now learned what it is, how to use it, tips to keep it real, and even mistakes to avoid. The next step is simple—open up your favorite photo, test it out, and let the light lead the way. Try adding a photeeq lens flare, play with the angles, and discover how much more feeling your photo can hold.
FAQs
1. What is photeeq lens flare?
It’s a light effect used in photo editing to add sun-like glow or reflection to an image.
2. Can beginners use photeeq lens flare?
Yes! It’s easy to add using many apps or photo editing tools with just a few clicks.
3. Does lens flare make photos look better?
When used well, it adds warmth, drama, and focus, making images look more emotional and professional.
4. Where do I place a lens flare in my photo?
Always near the natural light spot in your scene—like the sun, lamp, or a window.
5. Can I use photeeq lens flare on mobile?
Yes. There are many mobile apps with simple flare tools that work well for phone photography.
6. Are there free versions of this effect?
Absolutely. Many apps and online tools offer free versions or trial overlays like the photeeq lens flare.


Post Comment